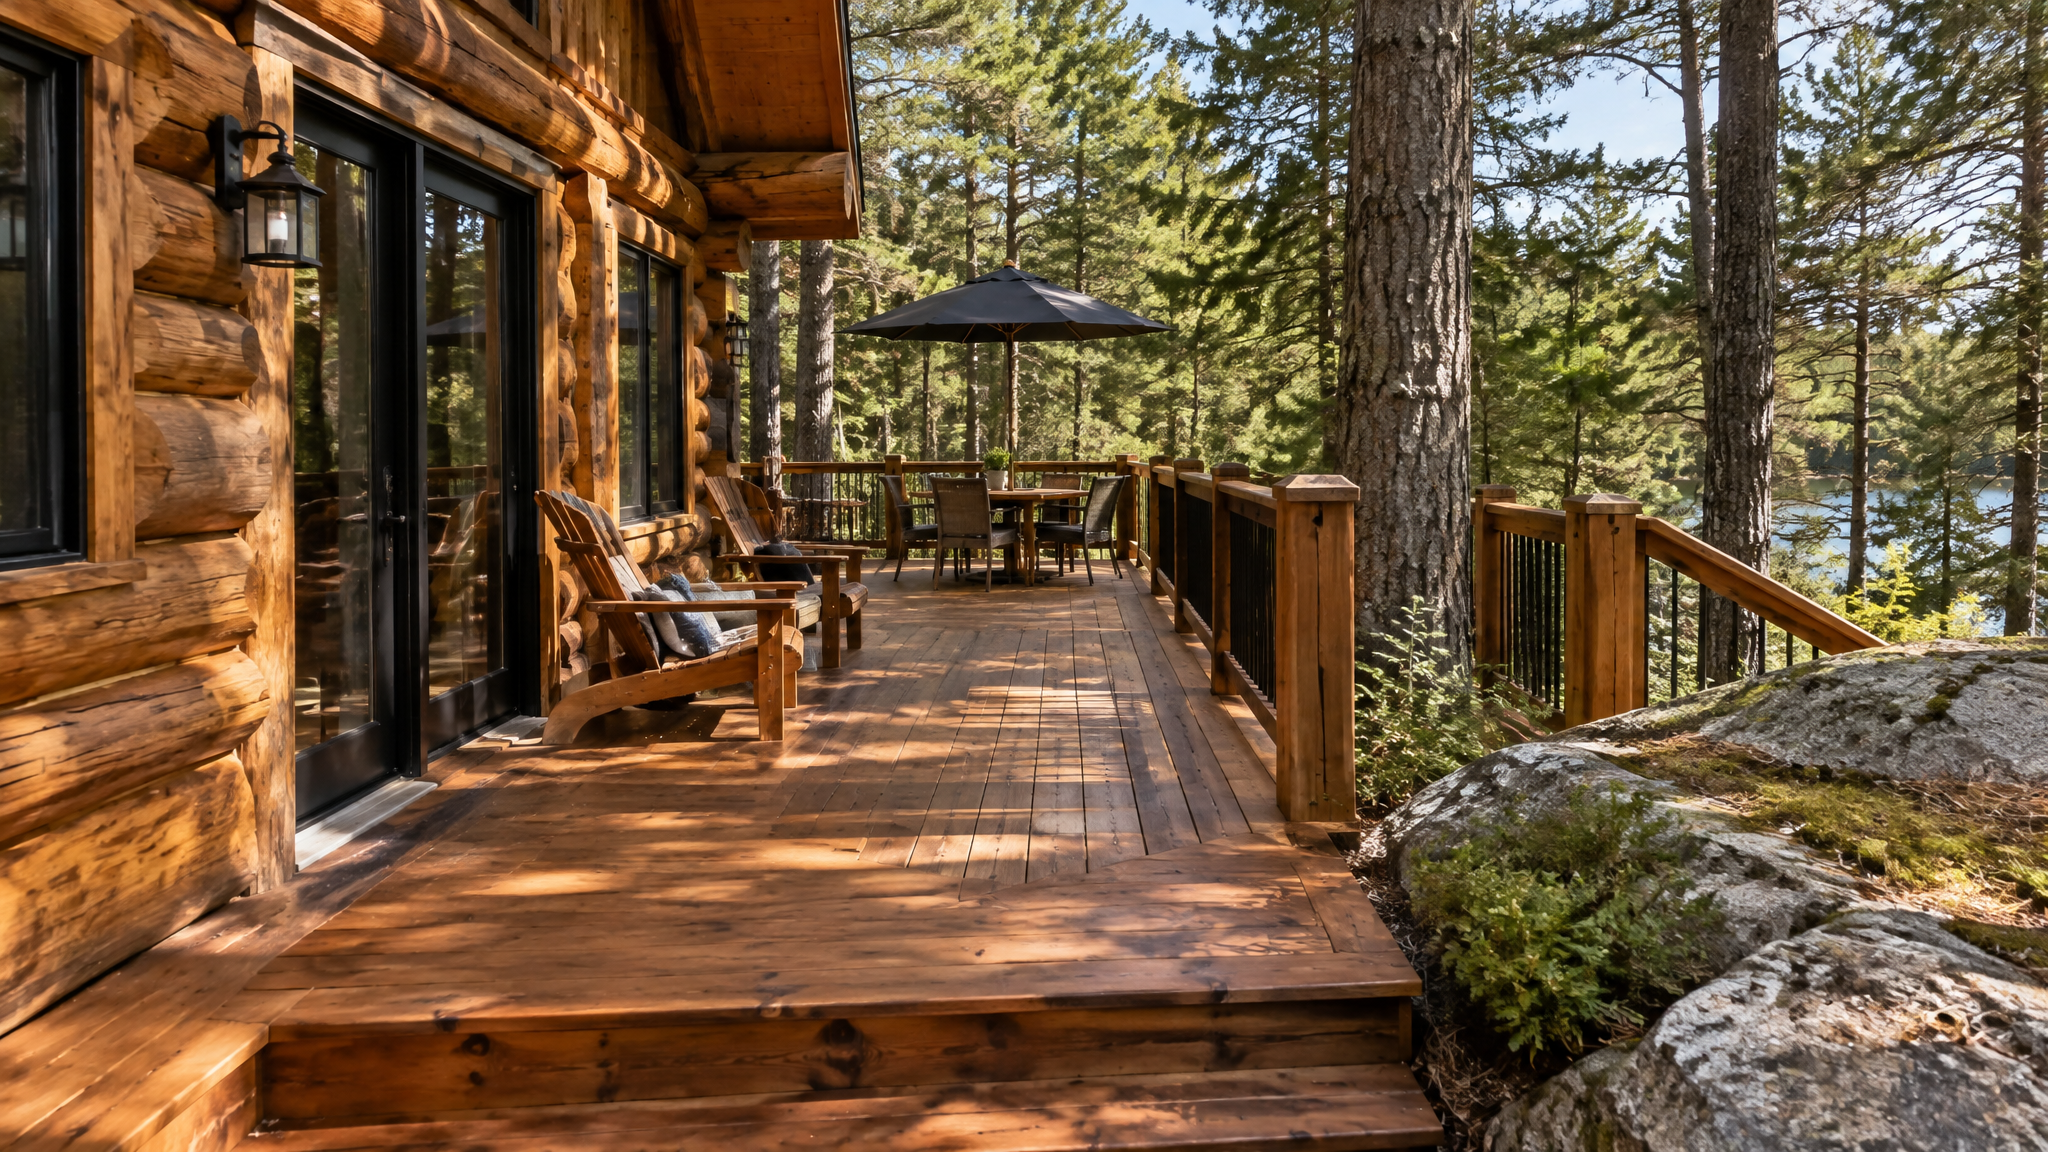
Muskoka winters are not gentle on outdoor structures. Temperatures drop well below minus 20 Celsius. Snow piles up. Ice forms, melts, and refreezes in a cycle that goes on for five months. Your deck takes all of this, fully exposed. What you do before the snow arrives in November determines what shape your deck is in when you step out on it in May.
This guide walks through the steps to winterize your Muskoka deck properly, whether it is composite, cedar, or pressure-treated wood.
Step 1: Clear Everything Off the Deck
Start by removing everything. Furniture, planters, barbecues, rugs, cushions, decorations, all of it. Objects sitting on the deck through winter trap moisture underneath. On wood decks, this leads to dark staining and mould growth. On composite, it can leave discoloured patches that take months of sun exposure to even out.
Outdoor furniture that stays outside should be stored in a garage, shed, or at minimum covered with breathable tarps in a sheltered area. Ceramic planters need to come inside. Water trapped in a ceramic pot will freeze, expand, and crack the pot.
Step 2: Deep Clean
Give the deck a thorough cleaning. Sweep all leaves, pine needles, and debris from the surface and from between the gaps. Leaves left sitting on a deck through winter create pockets of moisture and tannin staining.
Wash the deck with a garden hose and a stiff-bristled brush. For persistent dirt or mould spots, use a mild deck cleaner mixed according to the manufacturer's directions. Avoid using household bleach on wood decks because it can damage wood fibres and harm vegetation growing near the deck.
For composite decking, a pressure washer on a fan tip at low PSI (under 1,500) works well. For cedar and softwood decks, be careful with pressure washers. High pressure can gouge the wood grain and create channels where water collects.
Step 3: Inspect the Structure
With the deck clean and clear, walk every inch and look for problems. Here is what to check:
- Board condition: Look for splits, cracks, cupping, or soft spots. Any board that gives under foot pressure should be replaced before winter.
- Fasteners: Check for popped screws or nails. Re-drive or replace any that are lifted above the surface.
- Railings: Grab every railing post and shake it. If it moves, the connection is failing and needs to be repaired.
- Ledger board: Inspect where the deck attaches to the cottage. Look for gaps, signs of rot, or missing flashing.
- Posts and footings: Check the base of each post for signs of rot (wood) or corrosion (metal). Make sure footings are still level.
- Stairs: Check stair treads for wear and handrail connections for stability.
Step 4: Make Repairs Now
Anything you found in the inspection should be fixed before winter. A cracked board will absorb water, freeze, and crack further. A loose railing post will shift under snow weight and may fail entirely. Small issues found in October become expensive problems by April.
If you find damage beyond simple repairs, contact us for a repair assessment. We can handle everything from single-board replacements to full structural repairs.
Step 5: Seal or Stain (Wood Decks Only)
If your cedar or pressure-treated deck is due for re-staining, fall is the ideal time, as long as temperatures are above 10 degrees Celsius and rain is not forecast for 24 to 48 hours. A fresh coat of penetrating stain or sealant before winter does two things: it repels water, reducing moisture absorption during freeze-thaw cycles, and it protects the wood fibres from UV degradation when the snow melts and spring sun hits the deck.
Use a penetrating stain (not a film-forming stain) for Muskoka conditions. Film-forming products sit on the surface and can peel and crack during freeze-thaw. Penetrating stains soak into the wood and protect from the inside out.
Composite decks skip this step entirely. That is one of the advantages of composite over cedar.
Step 6: Check Drainage
Water needs to flow off and through the deck freely. Clear any debris from the gaps between boards. Check that the ground under the deck slopes away from the cottage foundation. Standing water under a deck in winter freezes, expands, and can push against posts, footings, and the foundation wall.
Step 7: Winter Snow Management
Once winter arrives, you need a plan for snow. Here are the rules:
- Use a plastic shovel. Metal shovels scratch composite and gouge wood.
- Shovel with the grain (in the direction of the boards), not across it.
- Do not use rock salt or calcium chloride. These can damage all decking materials and harm the soil and vegetation below.
- Use sand for traction if the deck gets icy. It does not damage the surface and washes away in spring.
- Clear snow periodically. Do not let snow build up to extreme depths. A heavy snow load stresses the structure, and the bottom layers compress into ice.
Spring Follow-Up
When spring arrives, do another inspection before you start using the deck. Look for the same things you checked in the fall, plus any winter damage from ice, snow, or wildlife. A quick spring cleaning and inspection catches any issues early, before the cottage season kicks off.
Need help getting your deck ready for winter, or planning repairs for next season? Get in touch and we will schedule a visit.